How to Fix a Green Pool: A Step-by-Step Guide
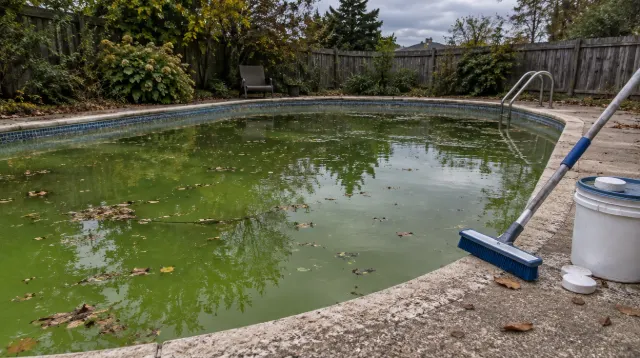
Turn a green pool clear again: test, brush, shock to the right level for your stabilizer, run the filter and vacuum. Doses, timelines and mistakes to avoid.

How to tell a pool leak from evaporation with the bucket test, how to read the results, where leaks usually hide and when to call a leak detection pro.
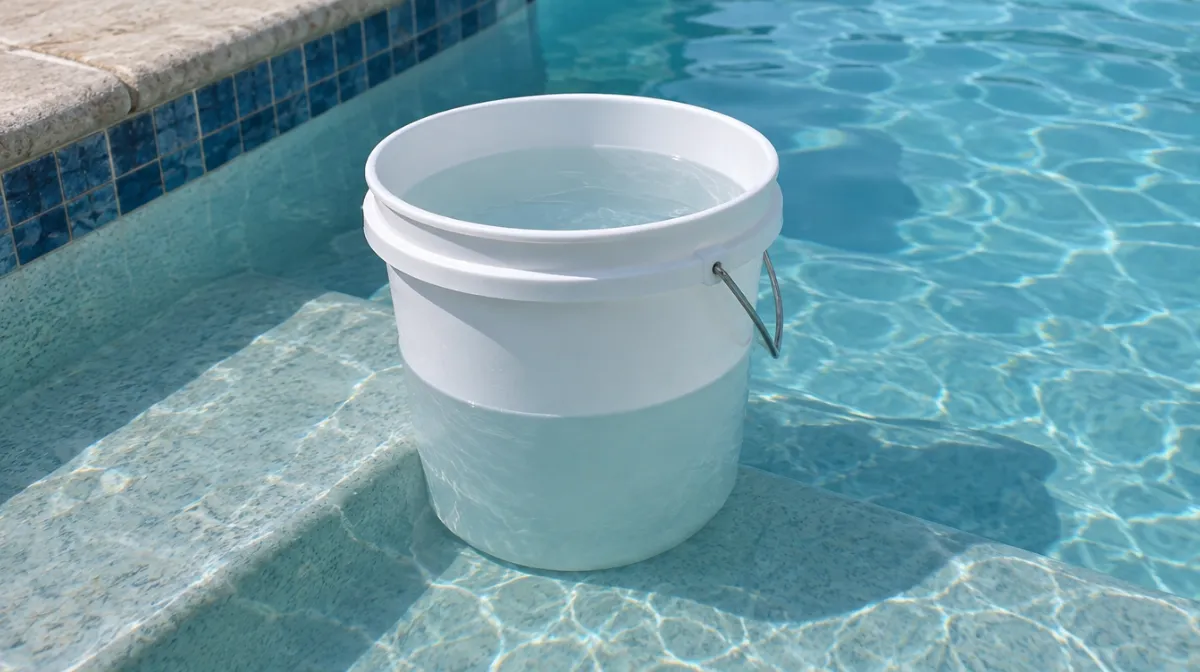
To find out whether your pool is leaking, do the bucket test. Fill a bucket with pool water, set it on a pool step so the water inside matches the pool’s level, mark both levels and check them 24 hours later. Evaporation lowers both by about the same amount. If the pool has dropped noticeably more than the bucket, water is going somewhere else, and you probably have a leak.
Every pool loses water to evaporation. The U.S. Department of Energy notes that the evaporation rate depends on the pool’s temperature, the air temperature and humidity, and the wind speed at the surface. Hot, dry, windy days can take a surprising amount, and splashing, backwashing and vacuuming to waste take more. That’s why a falling level alone doesn’t prove a leak; the bucket test separates the two.
| Result after 24 hours | What it suggests |
|---|---|
| Pool and bucket dropped about the same | Evaporation; no leak |
| Pool dropped noticeably more than the bucket | Likely leak |
| Pool dropped more with the pump running | Leak probably on the pressure side: return lines or equipment |
| Pool dropped more with the pump off | Leak possibly on the suction side: skimmer or suction lines |
| Same loss with the pump on or off | Leak probably in the pool itself: shell, liner, light or fittings |
Run a second 24-hour test with the pump off (and the bucket reset). Comparing the two results is the best free clue to where the water is going. Pressure-side leaks push water out while the pump runs; suction-side leaks can pull air in while it runs and leak water when it stops.
If the bucket test confirms a leak but you can’t find it, professional leak detection is worth the cost. Specialists pressure-test the plumbing lines and use listening equipment and dye to pinpoint leaks without digging up the deck. Leaks in underground plumbing, main drains or structural cracks need professional repair.
Fresh top-up water dilutes your chemistry. Retest everything, and use our pool chemical dosage calculator to rebalance. Stabilizer is often the reading that falls furthest after a long leak; our cyanuric acid guide explains the right level. If your fill water is hard, keep an eye on calcium hardness too. Adding a quick level check to your pool opening checklist catches winter damage early.
It varies with weather: hot, dry and windy days evaporate much more than cool, humid ones. That’s why the bucket test compares against real evaporation on the same day rather than using a fixed number.
Yes. Rain adds water to the pool and the bucket in different amounts. Start again after a dry 24 hours.
Yes. The skimmer throat, where it joins the pool wall, is a common leak point, especially in older pools. A dye test around the skimmer with the pump off often finds it.

Every article is edited by a human and checked against our editorial policy. Spotted a mistake? Tell us.
Turn a green pool clear again: test, brush, shock to the right level for your stabilizer, run the filter and vacuum. Doses, timelines and mistakes to avoid.
Why pool water turns cloudy and how to clear it: low chlorine, high pH or alkalinity, poor filtration, high calcium, early algae and debris, with fixes.
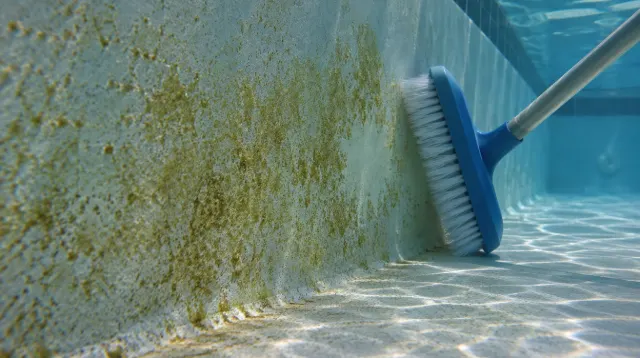
Yellow, dusty patches that brush away and come back? How to identify and kill mustard algae, clean everything it touches and stop it returning.